Carry-On Only for 5 Days: A Realistic Packing System for New Zealand
What this guide solves
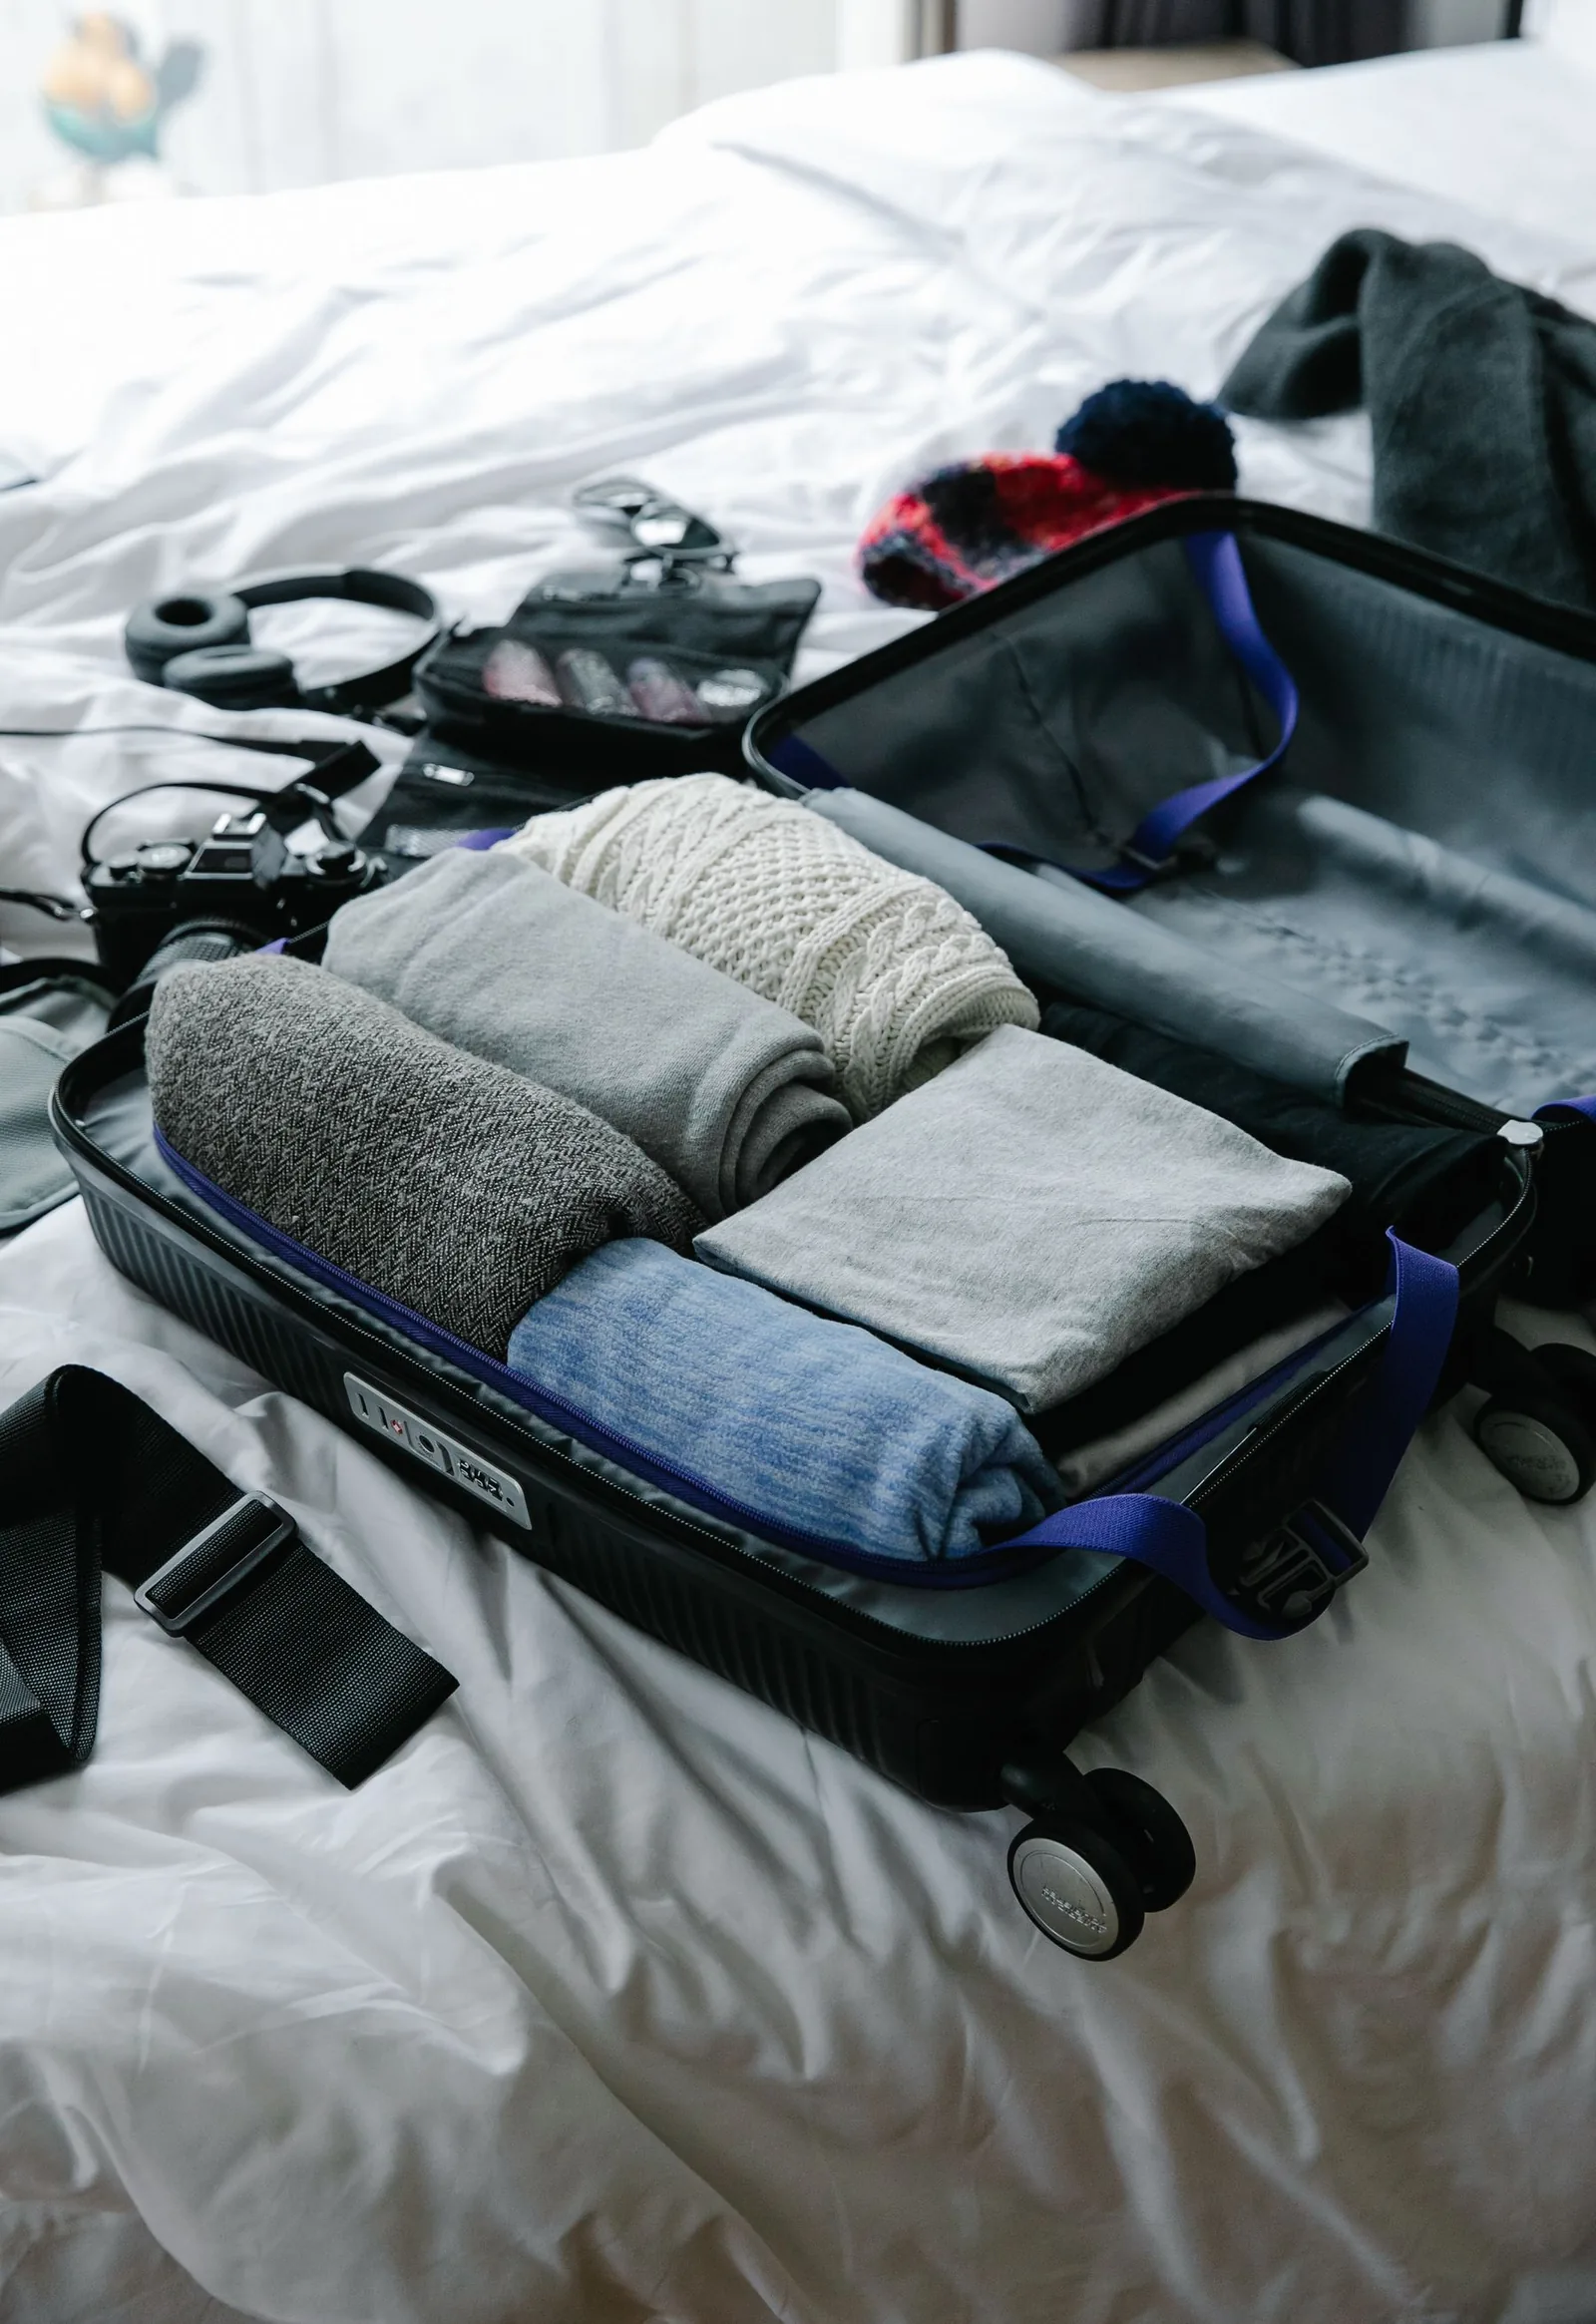
For five days in New Zealand, pack three tops, two bottoms, one warm mid-layer, one waterproof shell, five underwear, three pairs of socks, sleepwear and one primary pair of walking shoes. Wear the heaviest pieces in transit. Add only the equipment required by your actual booked activities, plan one sink-wash if necessary, and weigh the finished bag against the strictest airline on the itinerary. Air New Zealand Economy commonly allows one 7 kg carry-on plus one small personal item, but your operating airline and fare control the rule. Clean and declare used outdoor footwear or equipment when entering New Zealand.
Carry-on only works when you pack a system
A five-day New Zealand trip does not require five outfits, three pairs of shoes and a coat for every possible season.
It does require a plan for wind, rain, cool mornings, sun, repeated clothing and the exact flights you booked.
The useful unit is not an outfit. It is a layer that works with every other layer.
This system is designed for a short city, road-trip or day-walk itinerary. It is not a technical kit list for winter mountaineering, an exposed multi-day Great Walk or backcountry travel. Those activities require route-specific safety equipment and enough baggage to carry it properly.
The complete five-day capsule
Pack this before adding any optional module:
| Category | Pack | Wear in transit |
|---|---|---|
| Tops | 2 everyday or quick-dry tops | 1 top |
| Bottoms | 1 versatile trouser or legging | 1 heavier bottom |
| Warm layer | — | 1 fleece, merino sweater or light insulated jacket |
| Weather shell | 1 waterproof, windproof shell | Wear if useful |
| Underwear | 4 | 1 |
| Socks | 2 pairs | 1 pair |
| Sleepwear | 1 compact set | — |
| Shoes | — | 1 primary walking pair |
| Accessories | sun hat, compact beanie or buff as season requires | — |
That gives you three tops, two bottoms and six possible top-and-bottom combinations. Nobody needs a unique combination each day, but the arithmetic shows why a small capsule is not the same as wearing one outfit continuously.
If your accommodation has no reliable drying space, add one pair of socks rather than an entire second wardrobe.
Step 1: let the strictest flight set the limit
Do not begin with a generic “cabin-size” suitcase. Begin with the ticket.
Create one line for every operating airline and note:
- maximum carry-on dimensions, including wheels and handles;
- weight limit;
- whether the personal item is separate;
- whether the two items have a combined weight;
- rules for power banks, liquids and regional aircraft;
- the fare-specific allowance, not the airline’s most generous allowance.
Air New Zealand’s published Economy allowance is one carry-on bag up to 7 kg, plus one small personal item. Its standard cabin-bag dimensions are 55 × 40 × 23 cm, with a slightly smaller depth possible on Q300 aircraft. Premium cabins and eligible status holders have different allowances.
That is a useful design constraint, not a universal New Zealand rule. A codeshare or connecting carrier may allow less. Your booking confirmation and operating airline win.
Choose a bag by empty weight
A 3 kg wheeled case leaves only 4 kg of contents under a 7 kg limit. A light travel backpack may leave substantially more, but only if its filled dimensions remain compliant and its harness is comfortable.
Before packing, weigh the empty bag. If it already consumes more than one third of the allowance, decide whether its convenience is worth the trade.
Step 2: build one three-layer weather system
New Zealand’s changeable conditions are an argument for compatible layers, not overpacking.
Layer one: the base
Use the top already in your daily rotation. For ordinary sightseeing, it does not need to be specialist clothing. For a sweaty walk, a quick-dry or merino top is more useful than cotton that remains damp.
Layer two: warmth
Pack or wear one fleece, wool layer or light insulated jacket. It must fit beneath the shell without restricting movement.
Layer three: rain and wind
Take one proper waterproof shell with a hood. A water-resistant fashion jacket may cope with a short shower but should not be treated as outdoor protection.
Together, the three pieces cover far more real situations than a heavy single coat:
- cool morning: base + warm layer;
- windy viewpoint: base + shell;
- cold rain: all three;
- warm afternoon: base only.
For winter, alpine elevations or prolonged exposed walking, this framework still applies, but the insulation and safety kit must match the route. Do not use “carry-on only” as a reason to omit essential equipment.
Step 3: make every clothing item pass three tests
Each piece should pass:
- Combination: does it work with both bottoms?
- Function: can it handle at least two settings—walk, drive, dinner, flight or sleep?
- Recovery: can it be aired, spot-cleaned or washed and dried overnight?
If a garment works with only one other item, it is an outfit dependency. If it needs delicate care, it is a laundry dependency. If it exists only “in case we go somewhere smart,” it is a hypothetical-plan dependency.
Remove dependencies first.
A practical five-day rotation
| Day | Top | Bottom | Reset |
|---|---|---|---|
| Flight / Day 1 | Top A | Bottom 1 | Air both overnight |
| Day 2 | Top B | Bottom 2 | — |
| Day 3 | Top C | Bottom 1 | Wash Top A and socks if needed |
| Day 4 | Top A | Bottom 2 | — |
| Day 5 | Cleanest available | Bottom 1 | Travel home |
This is a framework, not a hygiene commandment. Hot weather, hard walks and personal needs may require more washing or one extra top. Add the smallest item that solves the real issue.
Step 4: use one primary shoe
Shoes are the fastest way to lose carry-on space.
For a mixed short trip, wear one pair that is:
- already broken in;
- comfortable for a full walking day;
- appropriate for the tracks you have actually chosen;
- reasonably grippy in wet conditions;
- neutral enough for an ordinary restaurant;
- cleanable before border inspection.
Do not buy rigid hiking boots immediately before departure. Do not pack heavy boots for paved viewpoints. Equally, do not attempt a rough, muddy or alpine route in fashion trainers because a minimalist packing graphic told you to own only one shoe.
Add a second pair only for a named purpose. Lightweight sandals may earn their place for shared showers or recovery. Formal shoes may earn it for a confirmed event. “Choice” is not a purpose.
Step 5: add an activity module, not an imaginary adventure store
Complete the core capsule first. Then add one small module for the trip you booked.
Day-walk module
- small pack or compressible day bag;
- route-appropriate footwear;
- quick-dry top if not already in the capsule;
- sun hat and sunscreen;
- refillable water bottle;
- food, navigation and emergency items appropriate to the track;
- any additional layers recommended for the location and forecast.
Check Department of Conservation alerts, track conditions and weather close to the day. A general packing article cannot replace local track advice.
Campervan module
- compact sleepwear suitable for colder overnight temperatures;
- shower footwear;
- earplugs;
- quick-dry towel only if the rental or accommodation does not provide one.
Confirm linen, towels, cookware and charging connections with the rental company. Packing supplied items is wasted weight.
Photography module
Choose one camera setup, one charger and the cards you need. A phone plus a camera plus an action camera plus multiple tripods is not a module; it is a second luggage category.
Keep spare lithium batteries and power banks in the cabin and verify the specific airline rules. Air New Zealand says power banks must travel in carry-on baggage and applies watt-hour and quantity limits.
Step 6: contain toiletries before they spread
Use one small transparent pouch and pack for five days, not for an unspecified future.
Take:
- travel-size toothpaste and essential dental care;
- deodorant;
- sunscreen appropriate to your use;
- essential skincare in small containers;
- medication in its original or clearly identifiable packaging;
- only the cosmetics you will actually use;
- solid products where they genuinely save liquid volume.
Accommodation may supply soap and shampoo, but verify if that matters to you. Do not decant prescription medication merely to make the bag look tidy.
Liquid-screening rules depend on the departure airport and itinerary. Check the relevant airport or aviation authority instead of assuming one global rule.
Step 7: prepare outdoor gear for New Zealand biosecurity
This is the New Zealand-specific step that generic carry-on lists miss.
The Ministry for Primary Industries requires arriving travelers to declare biosecurity risk items, including used outdoor equipment. Shoes, boots, tents, hiking gear and other equipment that may carry soil, seeds, insects or plant material can be inspected.
Before travel:
- remove all visible soil from soles, tread and seams;
- empty pockets and shake out packs;
- wash and dry muddy equipment;
- check hook-and-loop fasteners, tent pegs and walking poles;
- pack inspectable items where you can reach them;
- declare them on the New Zealand Traveller Declaration.
Declaration is not an admission that you did something wrong. It lets biosecurity officers assess the item. Failing to declare risk goods can lead to an infringement penalty.
If uncertain, declare.
Step 8: create a personal-item safety layer
The personal item should hold the things that cannot be separated from you, not overflow clothing.
Keep together:
- passport and travel documents;
- wallet and payment backup;
- phone and essential charging cable;
- medication;
- power bank, if compliant;
- glasses or contact-lens essentials;
- one warm or rain layer if you may need it immediately;
- keys and irreplaceable small valuables.
Make sure the personal item genuinely fits the airline definition. A second stuffed backpack may be treated as another carry-on.
Step 9: run the three-pass final audit
Pass one: weigh
Weigh the fully packed carry-on and personal item exactly as you will present them. Include water only if you expect to board with it and the screening rules allow it.
Aim below the maximum rather than exactly on it. Scales differ, damp clothing gets heavier and souvenirs need somewhere to go.
Pass two: remove the fears
Take out every item whose only justification begins with:
- “What if I suddenly need…”
- “This barely weighs anything…”
- “Maybe we will book…”
- “I always take two…”
Tiny objects become a heavy pouch. Keep genuine safety, health and weather necessities; remove speculative convenience.
Pass three: simulate the hard day
Dress for the coldest plausible planned day using only what is packed. Can the warm layer fit under the shell? Can you walk comfortably? Can you access medication and rain protection without unpacking the entire bag?
Then carry the bag for ten minutes and lift it above shoulder height. A technically compliant bag that you cannot manage safely is the wrong bag.
What to leave behind
- a second heavy coat;
- more than two bottoms for five days;
- full-size toiletries;
- a hair appliance without checking voltage and accommodation supply;
- “just in case” technical gear for an unbooked activity;
- duplicate chargers and cables;
- bulky organizers that weigh more than they organize;
- a large towel when one is supplied;
- food you have not checked against New Zealand entry requirements;
- dirty hiking gear.
When carry-on only is the wrong goal
Buy checked baggage when the trip requires:
- technical outdoor or winter equipment;
- multiple climates beyond what one layer system can cover;
- specialist sports equipment;
- medical equipment that cannot be accommodated safely;
- a formal event with non-negotiable clothing;
- items prohibited from the cabin but essential to the trip.
Carry-on only is a logistics choice, not a moral achievement. Paying for the correct baggage is cheaper than replacing essential gear or abandoning an activity.
For a short route that matches this capsule, see our realistic New Zealand five-day versus eight-day itinerary. If the trip grows to two weeks, use our New Zealand nature-trip budget guide to price the full journey instead of stretching a five-day packing rule beyond its purpose.
Sources and final checks
- Air New Zealand: baggage allowances and carry-on dimensions
- Air New Zealand: batteries and battery-powered devices
- New Zealand Ministry for Primary Industries: how to declare items
- New Zealand Ministry for Primary Industries: travelling to New Zealand
Recheck airline, border and track rules shortly before departure. The bag should be light; the decision-making should not be.
Frequently asked questions
Can five days in New Zealand fit in a 7 kg carry-on?
Yes for most city, road-trip and day-walk itineraries if you wear the heaviest layer and shoes, restrict yourself to one spare pair of bottoms and avoid duplicate electronics and toiletries. Weigh the packed bag because small wheeled cases can consume a large part of the allowance themselves.
Do I need a heavy winter coat?
Not automatically. Build the system from a base layer, warm mid-layer and waterproof windproof shell, then adjust insulation for the season, elevation and activities. Winter alpine travel may require substantially more than this general list.
How many shoes should I take?
One primary pair is the most reliable carry-on strategy. Add a very light second pair only when it solves a specific problem such as shared showers, a formal booking or recovery after a genuinely wet activity.
Do hiking boots need to be declared in New Zealand?
Used outdoor footwear and equipment are biosecurity risk items. Clean away soil, seeds and plant material before travel and declare the items on the New Zealand Traveller Declaration so officers can assess them.
Should I use a backpack or wheeled carry-on?
Use the bag that meets every airline's dimensions and is comfortable for your route. A light backpack preserves more of a strict weight allowance; a wheeled case is easier in airports but can weigh several kilograms before packing.
Related downloadable
The matching printable for this guide is in progress — browse the Checklists & Printables library for other ready-to-use downloads.
Browse Checklists & Printables